Updating Product Photos
Add, reorder, remove, and save images from the Images tab in product details; explanation of picture vs dummy, step-by-step guide, and video.
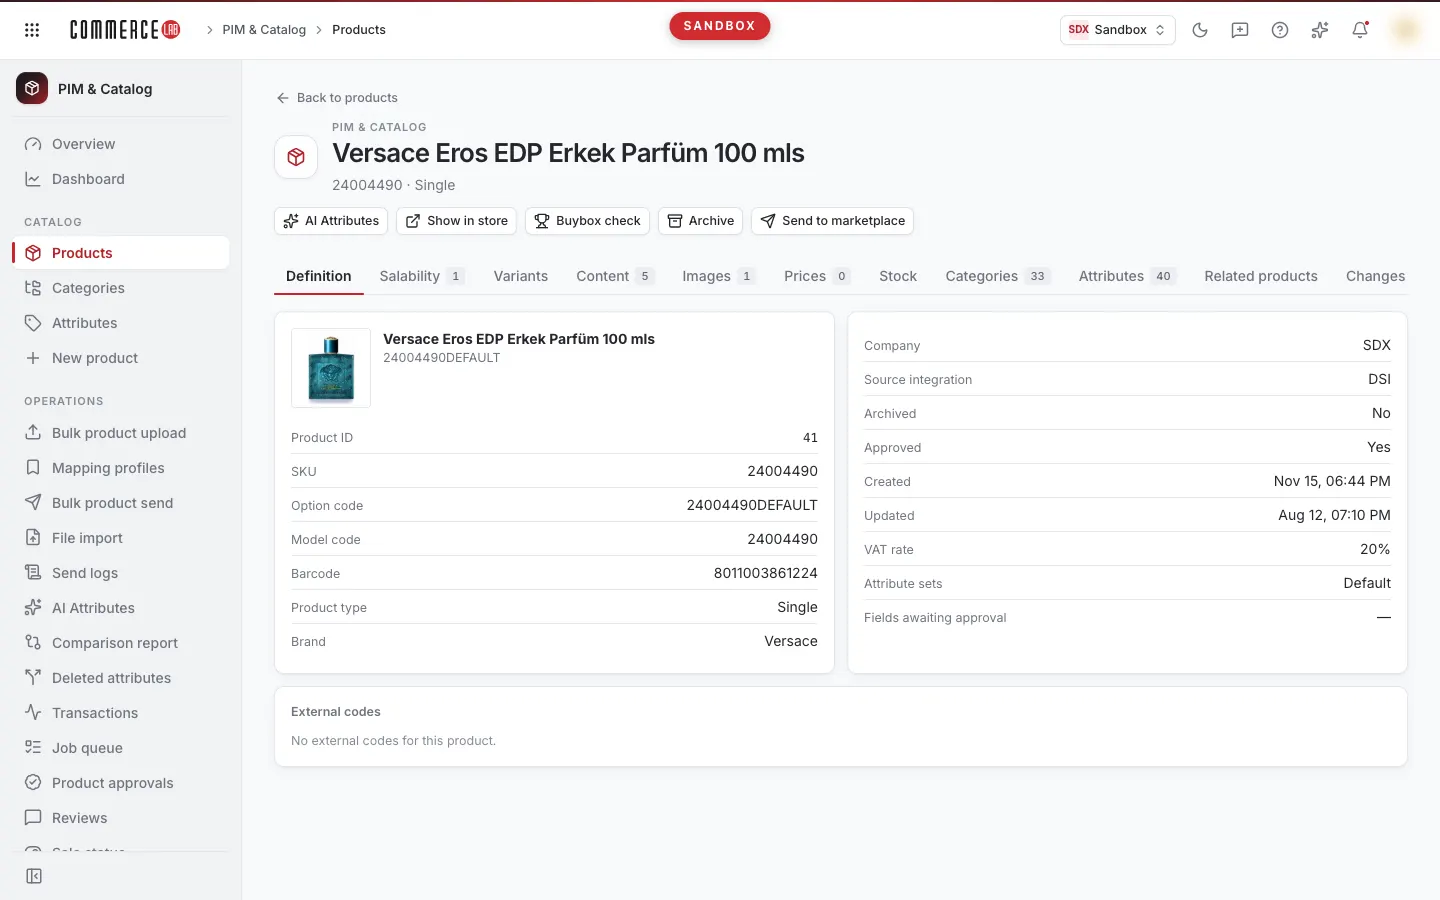
To update photos of a product one by one, use the Images tab in the product details: add a new image, reorder it, remove an old image if necessary, and press Save. This page explains the process step-by-step; the same explanation is available in the video below.
<video controls preload="metadata" playsinline width="1920" height="1080" poster="https://files.docs.hebiar.com/videos/console/pim/products/detail/urun-fotograf-guncelleme.en.jpg" src="https://files.docs.hebiar.com/videos/console/pim/products/detail/urun-fotograf-guncelleme.en.mp4"><a href="https://files.docs.hebiar.com/videos/console/pim/products/detail/urun-fotograf-guncelleme.en.mp4">Open the video</a></video>
If you want to upload photos to many products at once, see the Bulk photo upload with Zip page. For other areas of the tab, see Product detail.
Before you start
- Asset types: picture is visible on the site. dummy is a reference image taken when the product is first saved in the repository; it helps identify the product and AI feature extraction, but is not sent to the site.
- Order is the image order on the site; the first image is the cover.
- Formats can be JPG, PNG, or GIF; you can select multiple files at once in the Add image window.
Finding products missing photos
- Open the PIM & Catalog › Products screen.
- Open the Photo filter from Detailed filters. The filters you see are personalized and saved in your browser.
- Set the Photo filter to Missing and press Filter. The list will show only products without photos.
Adding and ordering images
- Find the product by typing the option code, SKU, barcode, or model code into the Search all codes box and click its name.
- Switch to the Images tab. The magnifying glass icon opens the image in large size; the original size is shown below.
- Click Add image, leave the Asset type as picture, select files, and click Add. The file uploads and is added to the end of the list; the console reminds you to save.
- Change the image position using the up/down arrows below the card or by drag-and-drop.
- Click Save. A "Images saved" notification appears and the image count in the tab updates.
If you leave the page without clicking Save, the added image will not be linked to the product.
Removing images
Click the trash can icon below the card, then click Save. Images to be deleted are listed once more in a confirmation window before saving.
Checking the result
The record is first written to PIM; it appears on the site when the scheduled transfer task runs. To send immediately, you can trigger the transfer task from the Tasks screen. The answer to who changed what and when is in the Changes tab in product details.
Common situations
- My added image disappeared: Add was clicked but Save was not. Add the image again and save.
- Old order appears on the site: the transfer task has not run yet; it will update when the task runs.
- Dummy image is not on the site: this is expected; select picture as the image type for images that should appear on the site.